The ability for guests to select their own campsite — not just a site “type” but a specific numbered site with a visible location on a map — has become a differentiating feature in the campground booking experience. Guests who choose their site feel more invested in the booking and report higher satisfaction on arrival. Operators who offer interactive selection see measurably lower pre-arrival modification requests.
Understanding how interactive site selection tools work, what they require to implement, and how to configure them well is increasingly relevant for operators evaluating or upgrading their reservation systems.
Why Guests Want to Choose
Campers care deeply about their specific site placement in ways that hotel guests rarely care about their room number. The reasons are practical:
- Privacy: Does the site back up against another site or have a buffer of trees?
- Shade: Is there adequate tree cover for afternoon sun?
- Hookup proximity: Is the electrical pedestal close to where they’ll park?
- Facility proximity: Is it a reasonable walk to the bathhouse?
- Noise: Is it far enough from the entrance gate or a busy road?
- Amenity access: Is it near the pool, the playground, or the waterfront?
When guests can see a map and evaluate these factors for themselves, they make better-informed choices — and arrive with accurate expectations, which is the foundation of satisfaction.
How Interactive Site Map Tools Work
Modern site selection tools are web-based, embedded in the booking flow after date and site-type selection. They typically show:
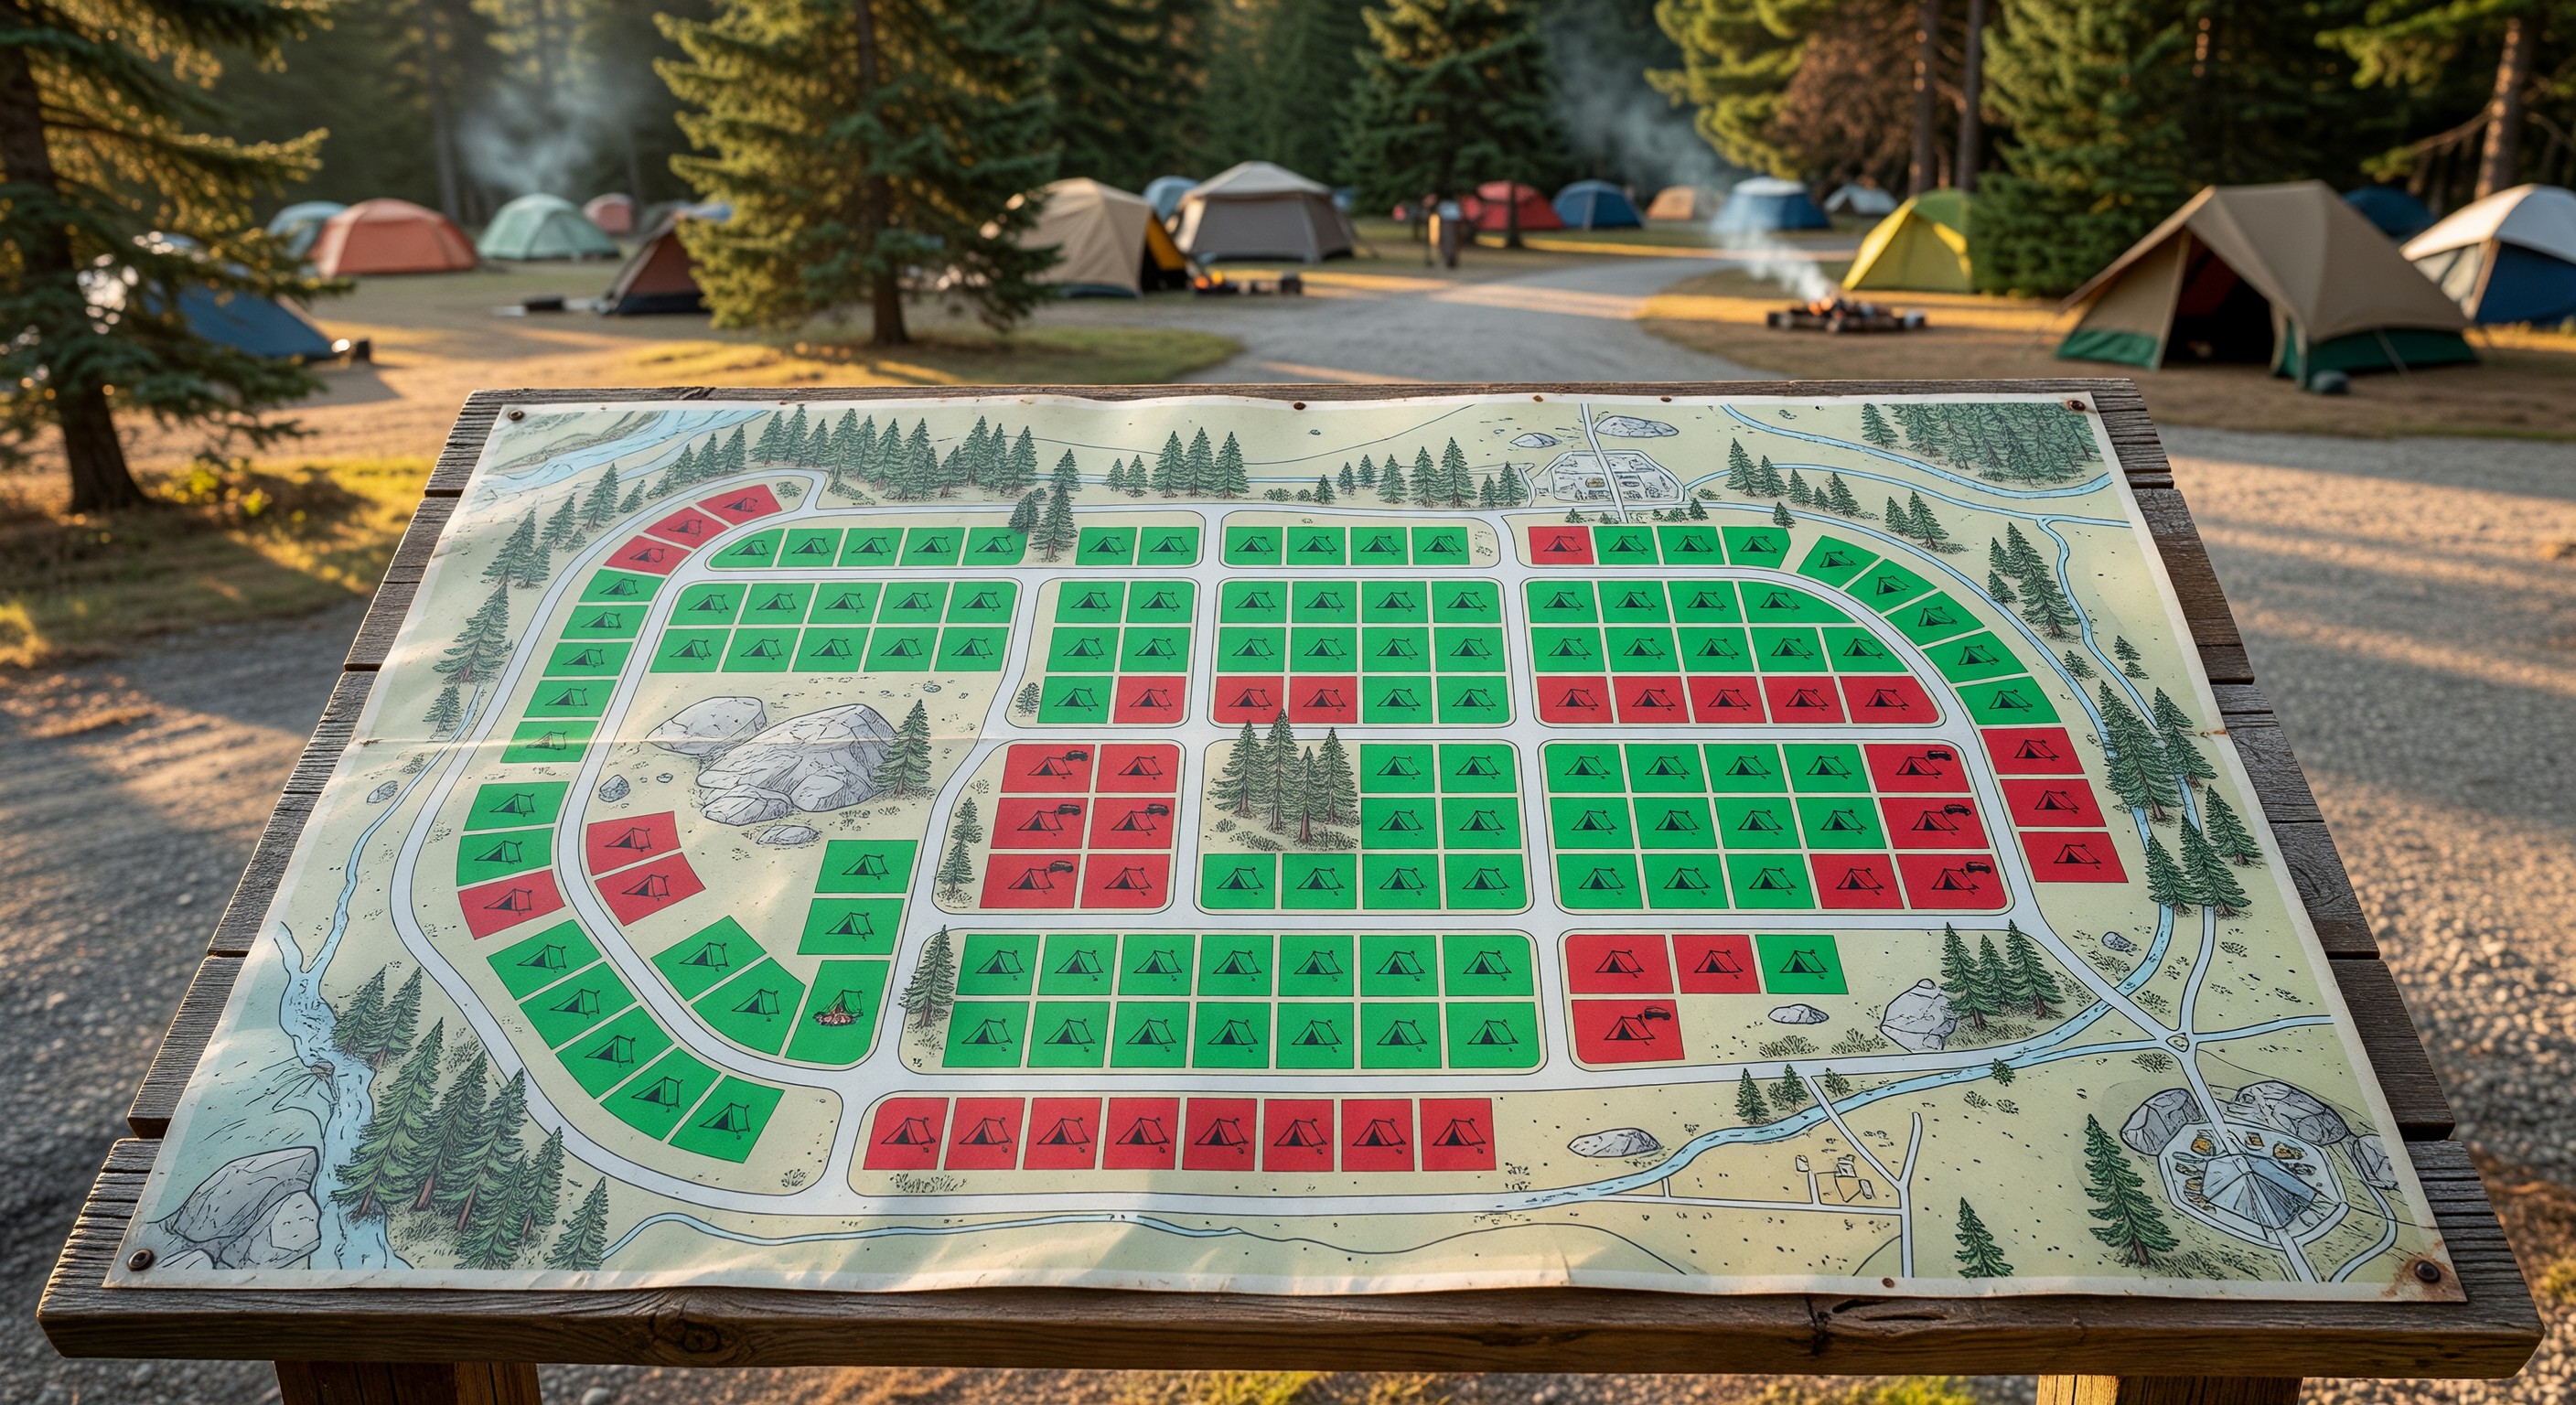
- An aerial or illustrated map of the campground with site boundaries drawn
- Color-coded availability (green = available for selected dates, gray = unavailable/reserved)
- Site-specific information on click or hover: amenities, photos, rate, size dimensions
- The ability to “select” a site and carry that selection into checkout
More advanced tools integrate with your real-time availability data so the map reflects current booking status — not a static representation that might show sites as available when they’re not.
What Sites Need for the Map to Work
The map is only as useful as the data behind it. For each site, you should document:
Site number (matching your physical signage exactly) Site type (tent, 30A, 50A, pull-through, cabin, etc.) Hookup specifications (amperage, water, sewer) Site dimensions (important for RV owners who need to know if a 42-foot motorhome fits) Max occupancy (people and vehicles) Site amenities (fire ring, picnic table, shade rating, accessibility features) Photos (at least one showing the actual site from the driveway angle)
Missing or inaccurate site data creates guest frustration when reality doesn’t match the map representation.
Premium Site Upsell Through Site Selection
Interactive maps create a natural upsell opportunity. When guests can see the difference between a standard interior site and a premium lakefront or corner site, they often willingly pay the premium. A guest who self-selects a premium site has made an active choice and is less likely to feel overcharged than one who was simply assigned it.
Display the price difference clearly on the map — “This site: $65/night | Standard sites from $45/night” — so the premium is transparent and the guest’s decision is informed.
Implementation Considerations
PMS-native maps vs. third-party tools: Some campground reservation platforms include native interactive map builders as part of the base product. Others require a third-party mapping integration. Evaluate the quality of the native tool first — third-party integrations add cost and complexity.
Map creation work: Building the initial map requires placing each site on a base image (aerial photo or custom illustration) and configuring the site data behind each marker. For a 100-site park, this is typically a 4–8 hour setup effort. It’s a one-time investment that pays back quickly.
Maintenance: When you add sites, change site numbering, or reconfigure your layout, the map needs updating. Assign clear ownership of map maintenance to a specific staff member.
Frequently Asked Questions
What if guests select a site that turns out to be temporarily unavailable due to maintenance? Block maintenance sites in your reservation system before they appear available on the map. This should prevent selection of out-of-service sites. If a maintenance issue arises after booking, contact the guest proactively and offer alternatives with an explanation.
Should I let guests choose any site they want, or limit to their site type? Limit selection to sites that match the guest’s declared setup type. An RV booking should only show RV sites. Allowing any guest to select any site creates conflicts when a tent camper inadvertently books a site that can’t accommodate tents, or a 40-foot RV books a site with length restrictions.
Will guests spend too much time picking a site and abandon the booking? Data from campground operators doesn’t support this concern. Guest engagement with site selection is typically 2–4 minutes, which is appropriate given the decision importance. Abandonment rates are generally lower on bookings with site selection than without, because engaged guests are more committed.
How do I handle guests who specifically want to be near their friends or family in another site? Some platforms support “adjacent site” or “group” selection — guests can see that a specific site is adjacent to an already-booked site belonging to a named group. If your platform doesn’t support this natively, a phone booking process for adjacent-site coordination is a workable alternative.
Further Reading from Authoritative Sources
- ARVC campground reservation technology and booking experience standards — ARVC provides reservation technology guidance for campground operators and tracks booking technology adoption trends that support claims about how site selection tools affect conversion rates and guest satisfaction.
- Go RVing campground booking preference research — Go RVing’s consumer research covers what RV and campground guests prioritize when booking sites, including the site selection and location preference data that supports the conversion rate claims in this article.