Installing a gate at your campground’s entrance is not just a matter of placing a barrier arm across an existing driveway. The entry lane design — how the lane is configured, where the gate equipment sits, how vehicles queue, and how entry and exit flows are separated — determines whether your gate system works smoothly or creates a daily operational headache.
If you’re planning a new gate installation or redesigning an existing entry, getting the lane design right before pouring concrete is far less expensive than redesigning it afterward.
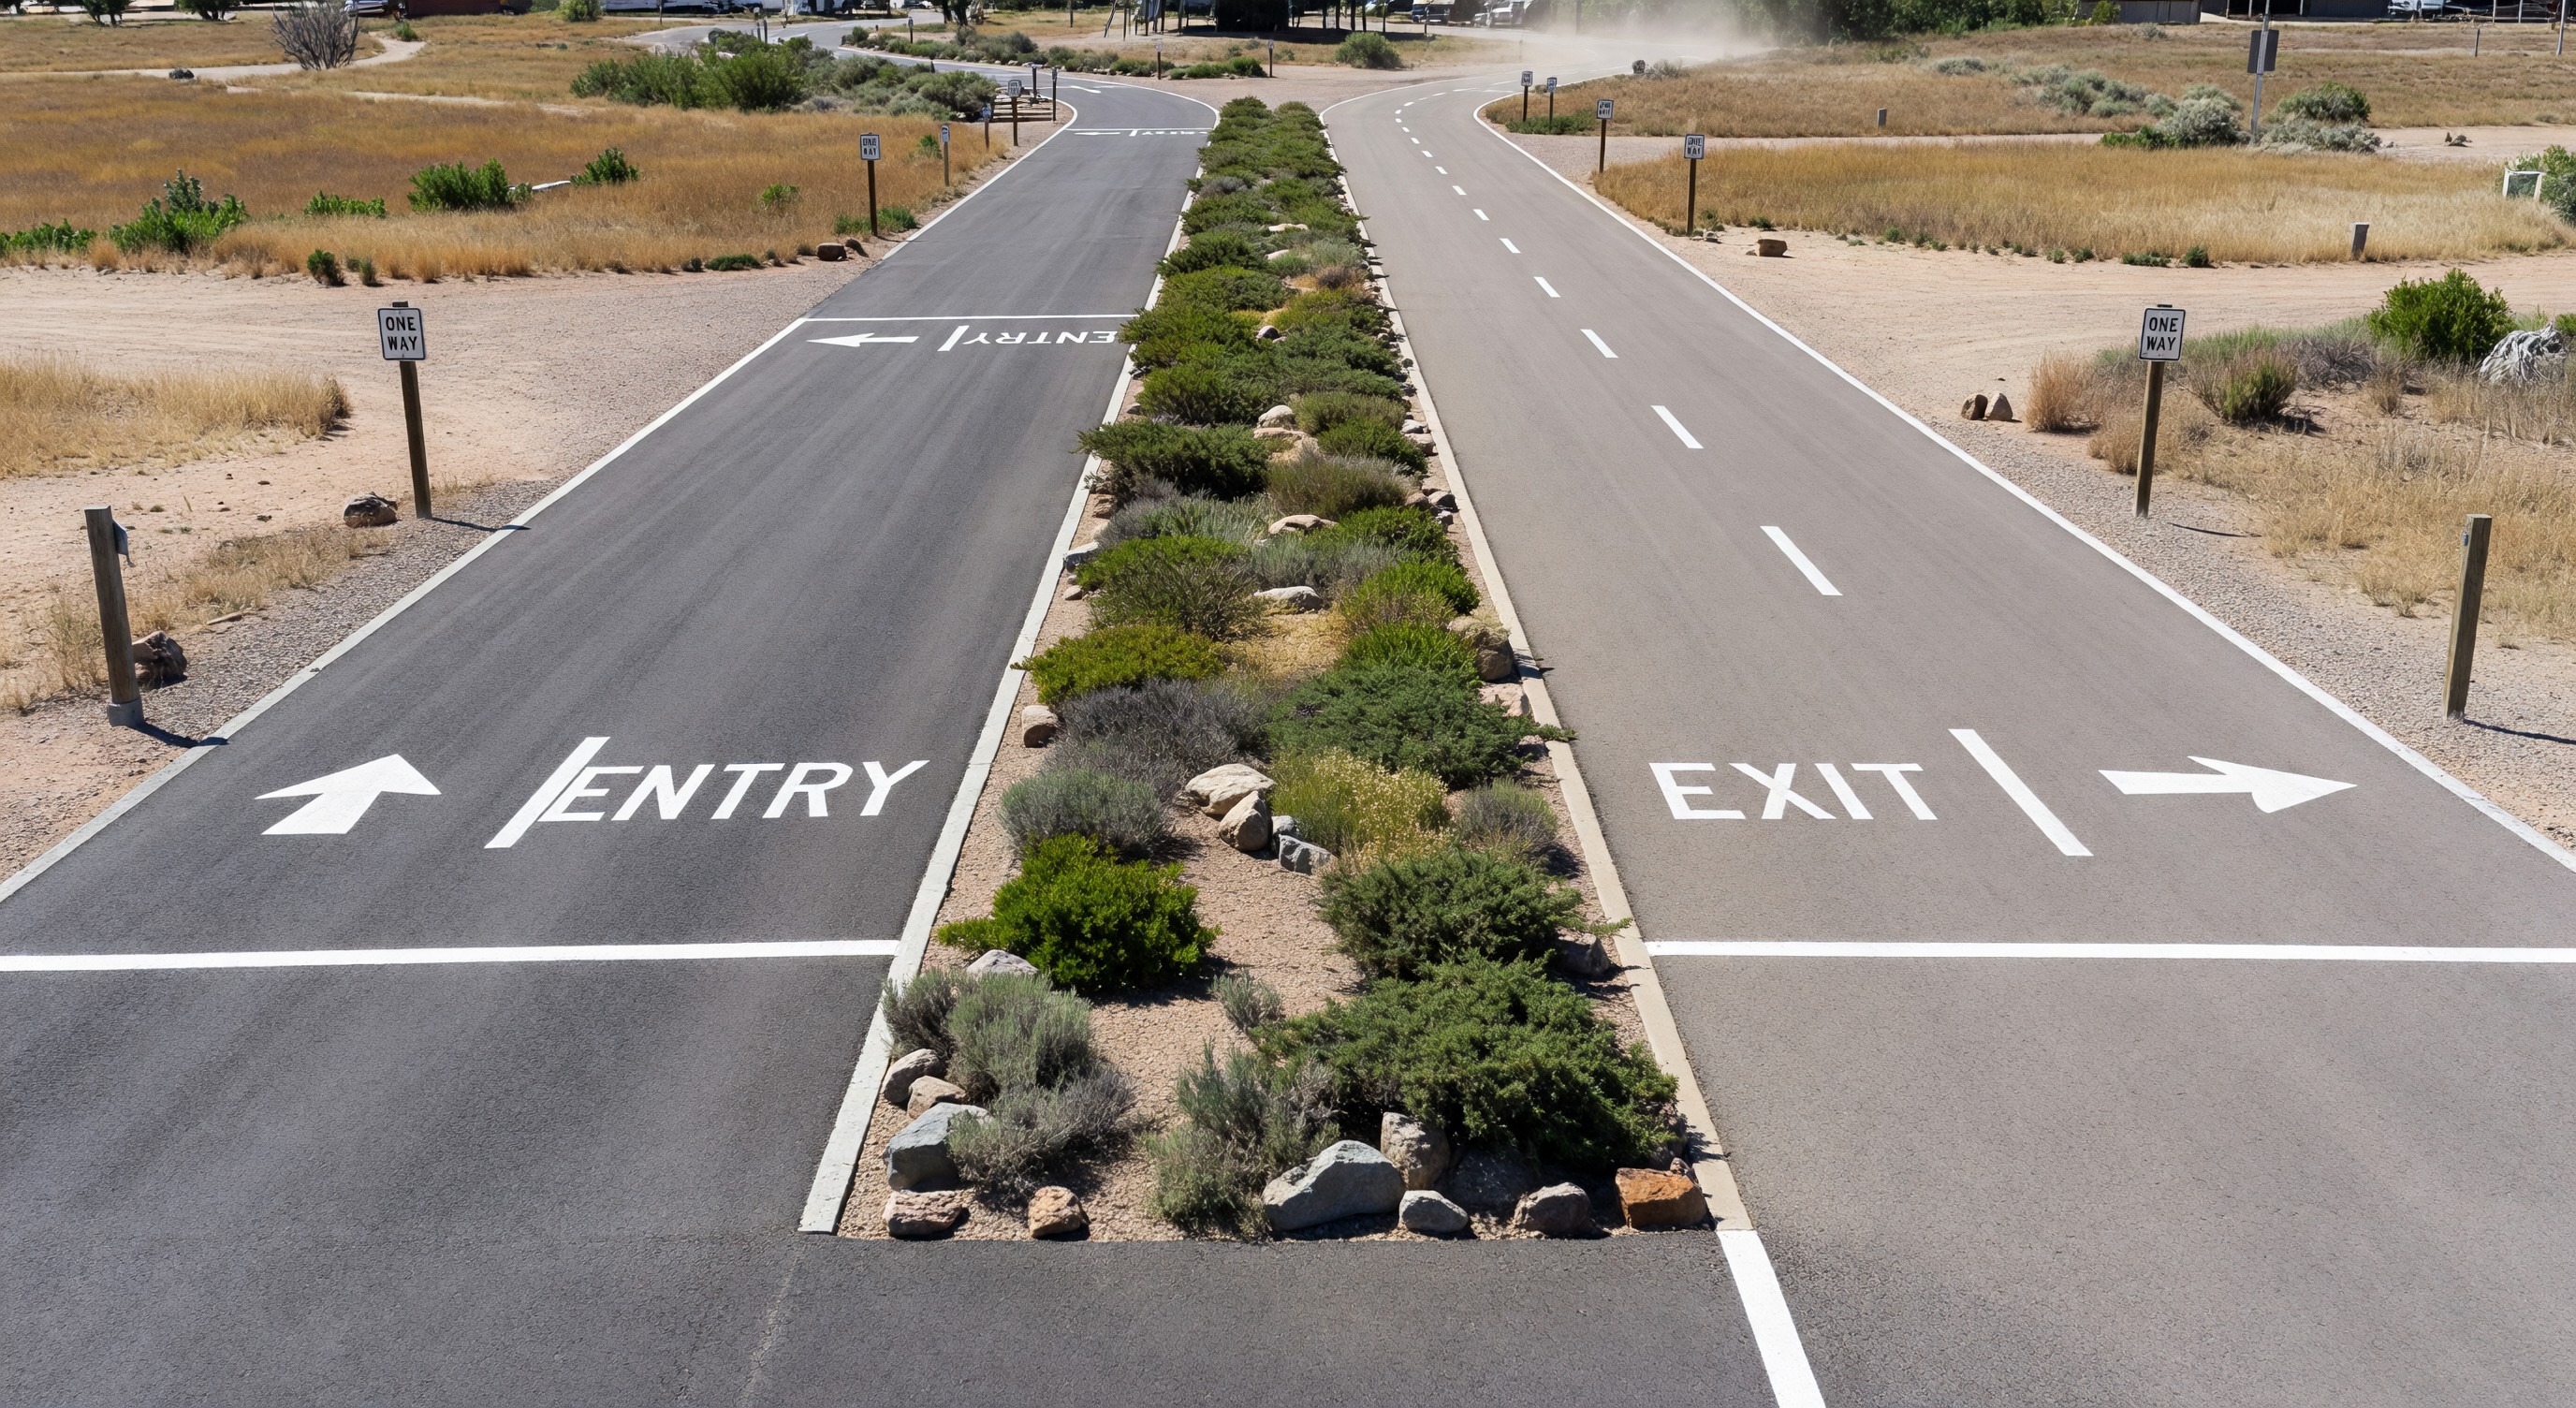
Single-Lane vs. Dual-Lane Entry
The most fundamental decision is whether to operate one lane or two:
Single-lane bi-directional: One lane handles both entry and exit. Entry and exit may share the lane simultaneously (one direction at a time, managed by traffic logic) or alternately (entry only during check-in hours, exit-only at other times). This is appropriate for smaller parks with modest traffic volume.
Dual-lane (separate entry and exit): A dedicated entry lane and a separate exit lane each with their own gate. Traffic flows are completely separated, preventing conflicts at peak times. Required for parks with high simultaneous arrival/departure volume — any park where more than 10–15 vehicles might queue at once.
Multi-lane configurations: Large RV resorts or parks with multiple vehicle types (RVs, tow vehicles with trailers, passenger cars) may benefit from lanes sized and configured differently by vehicle type.
Lane Dimensions for RV Traffic
Campground entry lanes serve RVs, which are significantly larger than passenger vehicles. Underestimating lane width creates problems:
Lane width: Minimum 14 feet for a single-direction RV lane; 16 feet preferred. RVs towing boats or trailers need the additional clearance.
Turn radius: The approach to the gate must accommodate the turning radius of the largest vehicles you expect. A Class A motorhome pulling a dinghy tow has a very different turning geometry than a pickup truck. Model this with your site plan.
Barrier arm height: Barrier arms must clear the height of all vehicles using the lane. The standard arm height clearance is 7.5–8 feet, but verify against any tall vehicles (high-profile campervans, buses) you expect.
Gate boom length: The arm must fully span the lane width plus a small clearance margin. A 14-foot lane needs a 14–16 foot arm. Ensure the arm doesn’t contact the gate housing on the opposite side.
Approach queuing space: Vehicles should be able to queue while waiting for the gate without backing up onto a public road. Plan for at least 3–5 vehicle lengths of queuing space before the gate — more for parks with significant arrival volume.
Equipment Placement Considerations
Card reader/keypad mounting height: Readers should be positioned at driver window height (approximately 42–48 inches) for standard passenger vehicles. For parks primarily serving RVs with elevated cab heights, higher mounting positions are appropriate.
Reach from driver window: The reader should be reachable from the driver’s window without the driver needing to fully exit the vehicle. This is often underestimated — 4 feet from the lane centerline to the reader face is a reasonable target.
Control cabinet placement: The gate’s main control cabinet contains the controller, power supply, and battery backup. It should be accessible for service without requiring lane closure. Placement adjacent to the gate mechanism, off the traffic path, is standard.
Solar panel placement (if applicable): For remote gate locations without grid power, solar panels must be placed with appropriate southern exposure (in North America) and positioned where vehicles or vegetation won’t shade them.
Traffic Loop Placement
Induction loops embedded in the pavement are the most common vehicle detection method for campground gates:
Entry loop: Triggers gate opening for authorized vehicles. Typically placed far enough from the gate that the vehicle is stopped and ready for the gate to open — 6–10 feet before the barrier.
Exit loop: Triggers gate opening for departing vehicles. A simple presence loop that opens the gate for any vehicle approaching from inside (free exit). Typically placed 6–10 feet before the barrier on the exit side.
Safety loop: Prevents the gate arm from lowering on a vehicle in the lane. Placed directly under where the arm would land. Critical safety device — never skip this.
Loop installation requires cutting slots in the pavement, threading the loop wire, and sealing the cuts. This is specialty work that should be done by a qualified installer.
For barrier gate hardware designed for high-cycle-count entry lane control, commercial barrier gate manufacturers produce systems used in high-volume vehicle control environments that are adaptable to campground entry lane configurations with single or dual-lane setups.
Frequently Asked Questions
Can I install a gate on an existing driveway without major reconstruction? Sometimes. If your existing driveway is wide enough, has adequate surface condition, and has accessible power nearby, a gate installation may be relatively simple. If the driveway is too narrow, has poor surface drainage, or lacks conduit access for wiring, reconstruction adds to the project scope and cost.
How close to the public road should the gate be? The general principle is to set the gate far enough back from the road that queuing vehicles don’t block traffic. A minimum of 30–50 feet from the road edge is a starting point; more is better for busy entry operations. Check with your local municipality — some jurisdictions have specific setback requirements for private drive gate installations.
Do I need a permit to install a campground gate? In most jurisdictions, yes. An electrical permit for the power supply, a building permit for the foundation work, and potentially a traffic control approval for the entry lane configuration may be required. Verify with your local authority having jurisdiction (AHJ) before beginning work.
What’s the ROI calculation for a dual-lane gate system vs. a single-lane? A dual-lane system costs 2–2.5x a single-lane system and requires more pavement construction. The ROI case is built on traffic throughput: if peak arrival periods currently create queues that delay guests and frustrate staff, the improvement in operational efficiency and guest experience can justify the investment. If single-lane traffic flows without meaningful congestion, the second lane may not be warranted.
Further Reading from Authoritative Sources
- ARVC campground infrastructure and entry design standards — ARVC provides campground infrastructure design standards including lane widths and entry configuration guidance relevant to the RV-specific dimensional requirements discussed in this article.
- NFPA fire access and gate safety code requirements — NFPA 1 (Fire Code) establishes emergency vehicle access requirements for gated facilities, including the bypass mechanisms and access width standards that campground entry lane designs must address for code compliance.